A Zoom cloud recording is saved on Zoom's servers instead of the host's computer. The host or a co-host starts it, Zoom processes the file after the session ends, and the result sits in the web portal with a link you can share. It needs a licensed user on a paid plan.
This guide follows one recording through its whole life in order: the setting that allows it, the button that starts it, the processing wait, where the file lands, and the share link and passcode. It ends with what changes when the session is a webinar, where the audience is a registrant list and somebody has to send the replay to it.
Cloud recording and computer recording
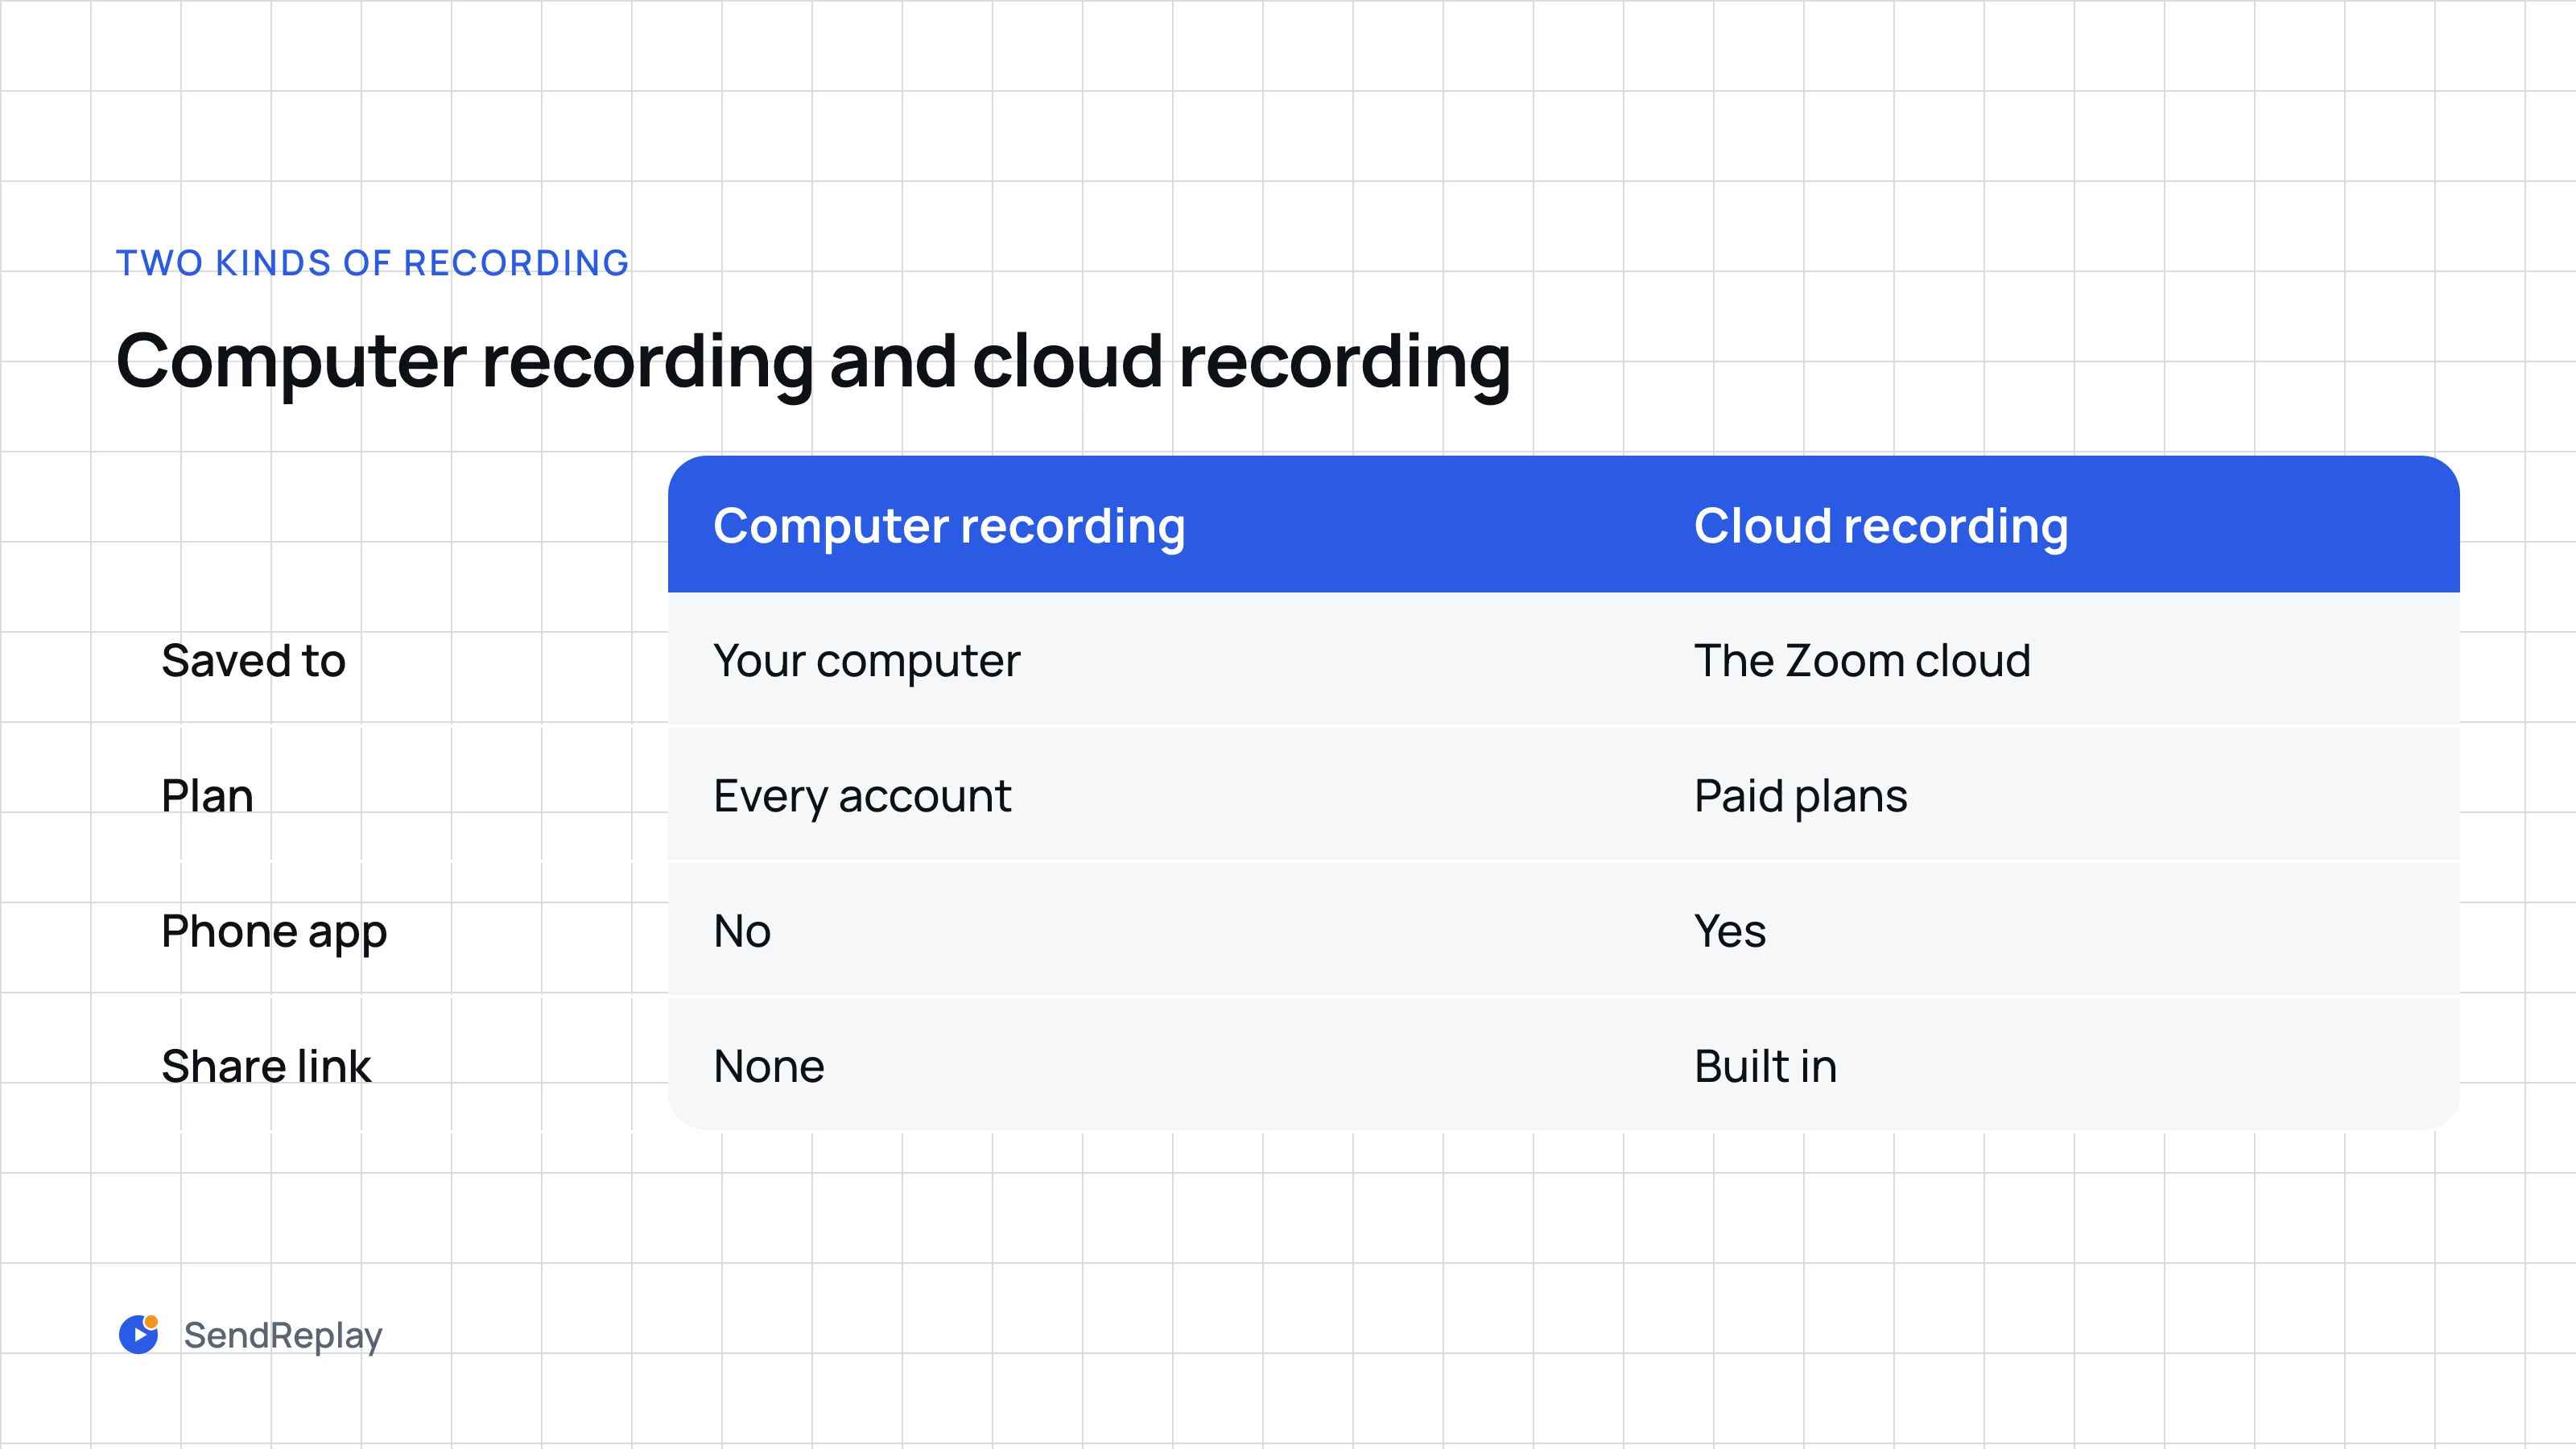
Zoom has two kinds of recording, and the toolbar offers both. A computer recording, which older pages call a local recording, is available on every account and writes its files to the hard disk of whoever pressed record. A cloud recording is available on paid accounts and is stored on Zoom's side, where it can be viewed, shared and downloaded (Zoom: getting started with computer and cloud recording).
Two practical differences follow. A computer recording has no link, so sharing it means uploading the file somewhere first. And the phone app cannot make one at all: on iOS and Android, cloud recording is the only kind there is.
Computer recording
Saved to: your computer. Plan: every account. Phone app: no. Share link: none.
Cloud recording
Saved to: the Zoom cloud. Plan: paid plans. Phone app: yes. Share link: built in.
Turning it on, and the settings that matter
There is usually nothing to turn on. Zoom's page on enabling cloud recording says the setting is enabled by default for all paid subscribers. To check your own, sign in at zoom.us, click your profile picture, and open Settings → Recording → Cloud Recording. A greyed-out switch means an admin has locked it for your group or the whole account, and only they can change it.
Three settings on the same tab decide what you end up with.
- Automatic recording. Off by default. Turn it on, choose Record in the cloud, and recording starts when the session starts, so nobody has to remember the button. A change here applies only to sessions scheduled afterwards. Existing meetings and webinars, recurring ones included, need the per-session switch: edit the session and tick Automatically record meeting → In the cloud (for a webinar, Automatically record webinar). Zoom's automatic recording page lists both routes.
- Create audio transcript. Under Advanced cloud recording settings. Zoom adds a transcript file to the recording, which viewers can read alongside the video if you allow it. It works for English only, and you cannot switch it on once the session has started (Zoom: audio transcription for cloud recordings).
- Require passcode to access shared cloud recordings. When this is on, every new recording gets a passcode by default. That is why a share link often arrives with a passcode you never chose (Zoom: cloud recording settings).
One session produces several files, not one. Zoom's file format page lists them: an MP4 with video and audio, an M4A with audio only, a chat.txt with the chat messages, and VTT files for captions and the transcript. Only public chat messages sent while recording was running are saved.
Starting, pausing and stopping
Only the host and co-hosts can start a cloud recording. If someone else needs to, make them a co-host first. Whoever presses the button, the recording appears in the host's list and nowhere else.
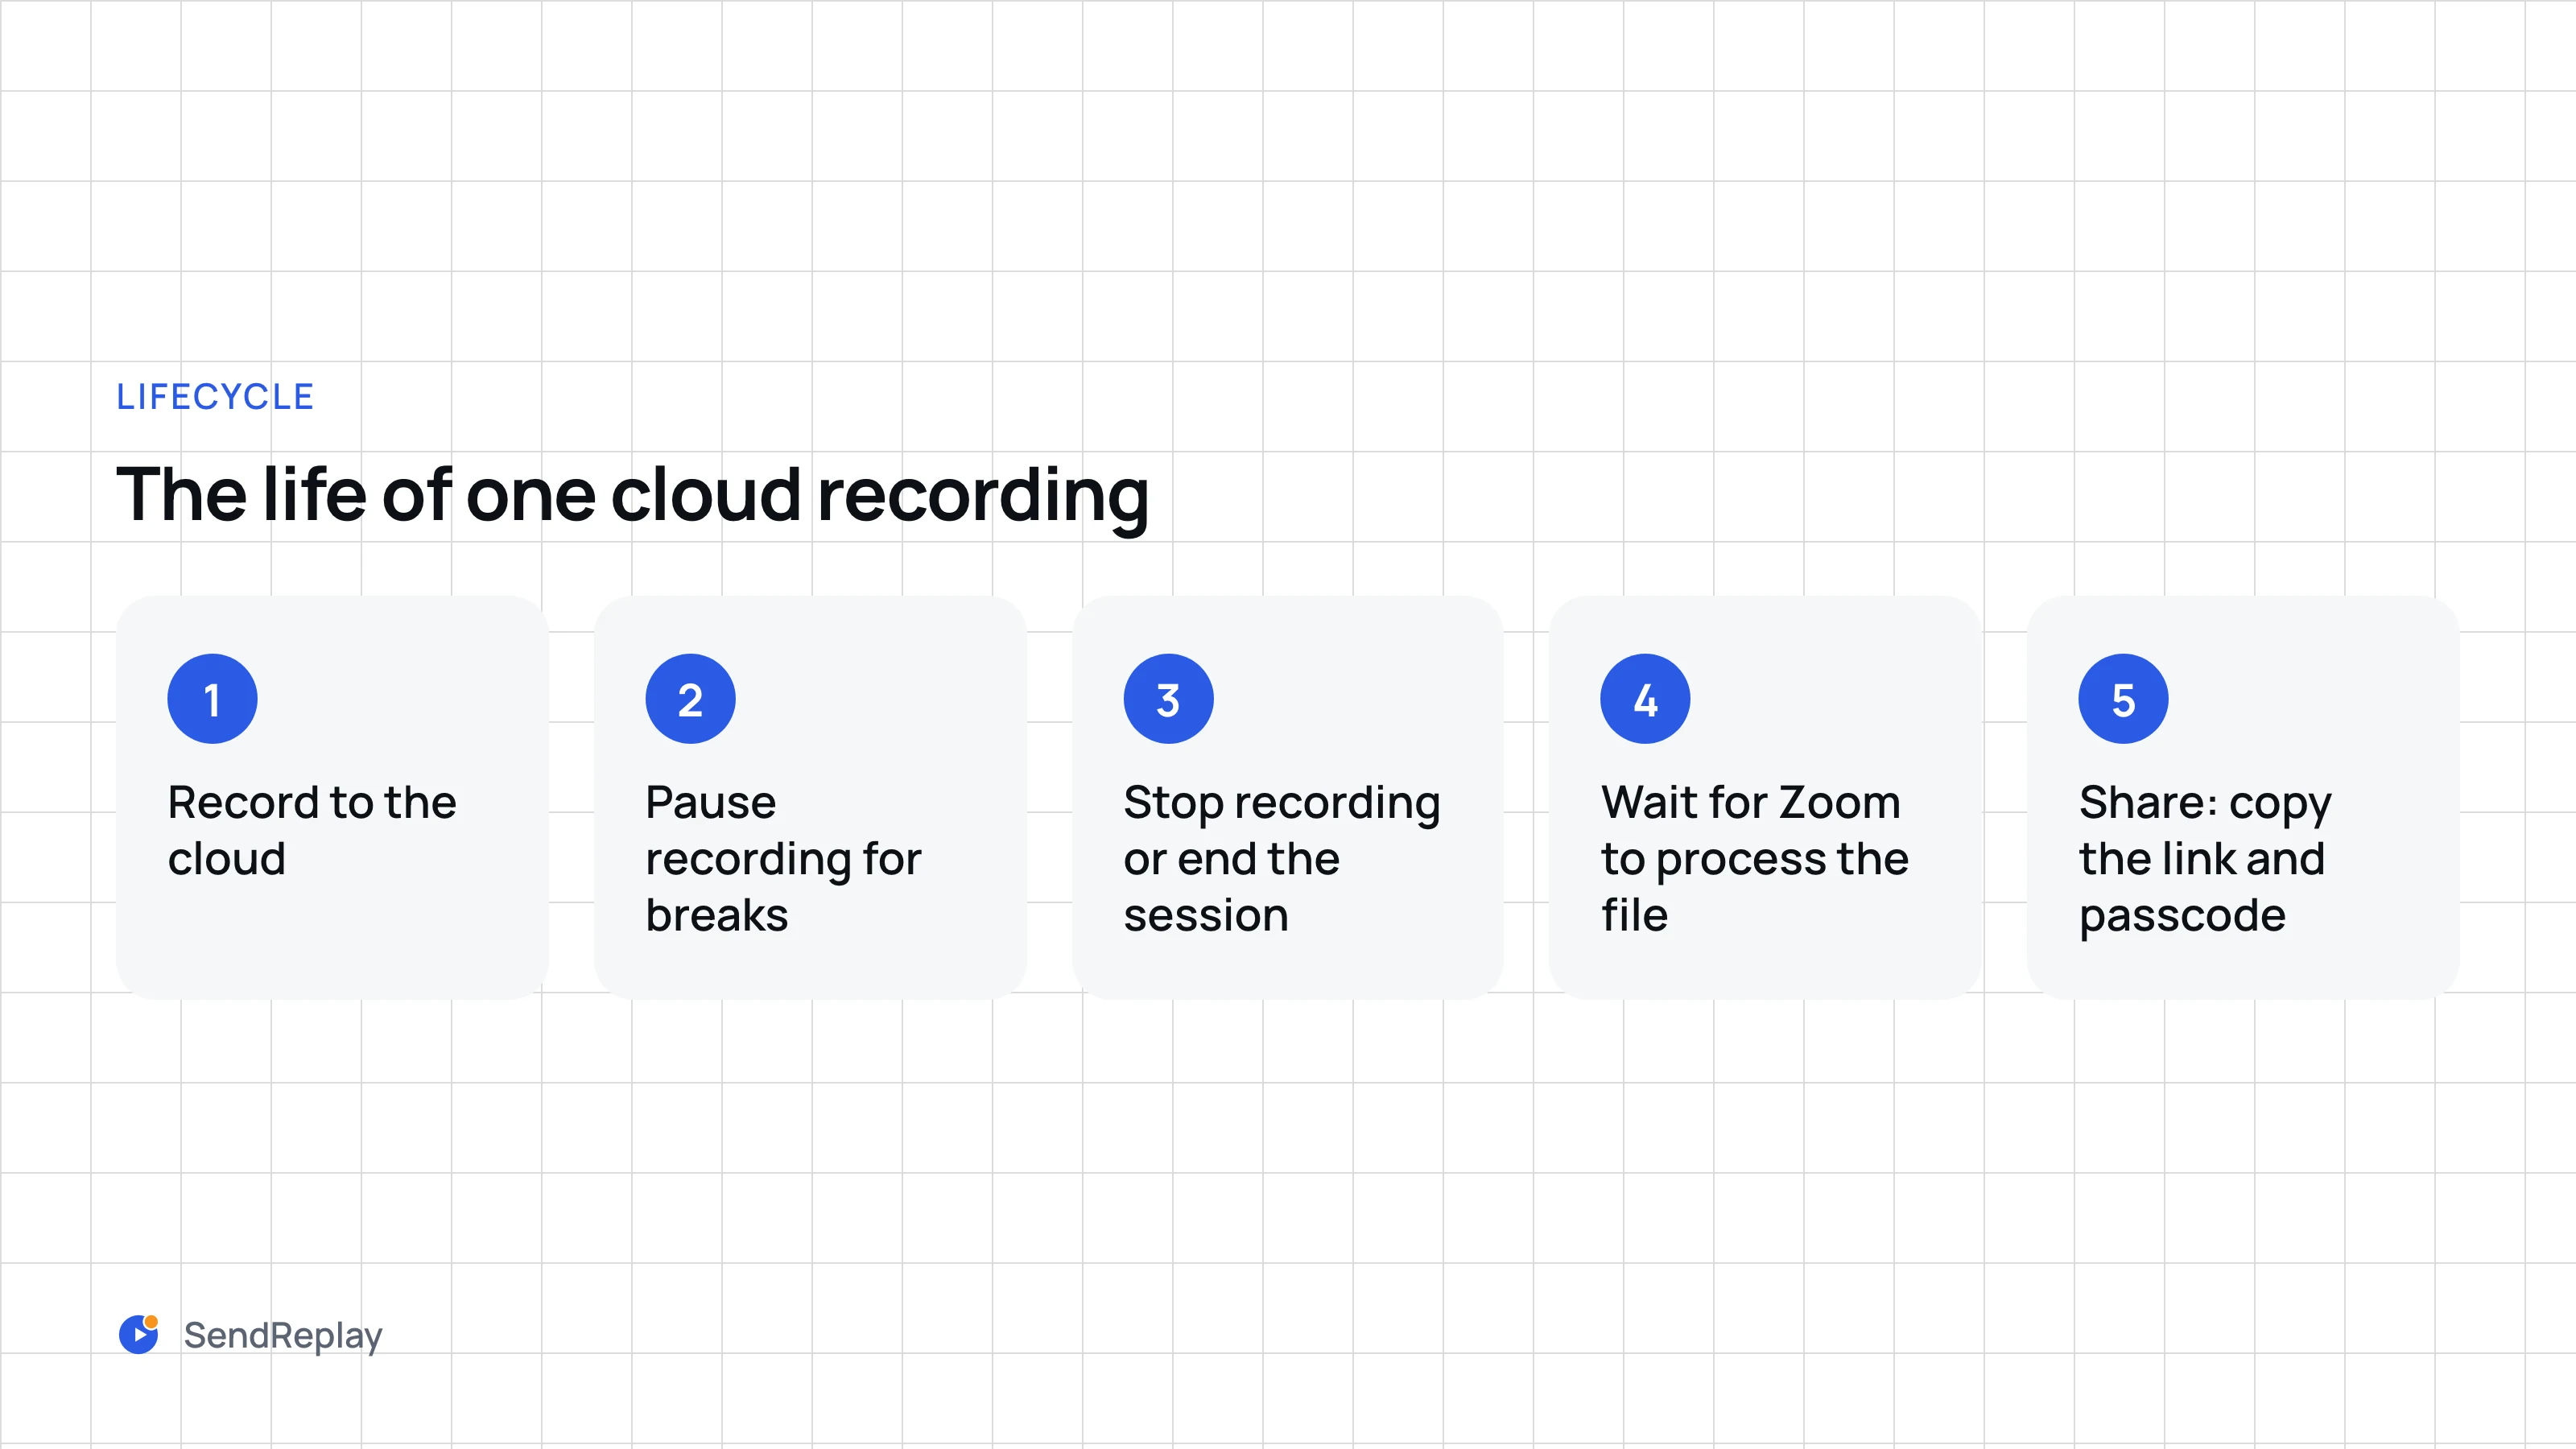
- In the desktop app, click More, then Record, then Record to the cloud. On a phone it is More → Record → Start recording.
- To skip a break, click Record → Pause recording. Pausing keeps everything in one file.
- To finish, click Record → Stop recording, or end the session. End meeting for all stops the recording, and so does the host leaving.
- Wait for Zoom to process the file. You can close Zoom; processing does not need you in the room.
- Open the recording in the web portal, click Share, and copy the link and passcode.
Stopping and starting again is not the same as pausing. Each stop closes a file and the next start opens a new one, so a session recorded in three stretches arrives as three recordings to share. Zoom caps one live session at 150 files, a ceiling you will only meet by doing this a great deal (Zoom: starting a cloud recording).
With automatic recording the start is taken care of, but the stop may not be yours. An admin can clear Host can pause/stop the auto recording in the cloud, and then the recording runs until the session ends.
Processing, and where the recording goes
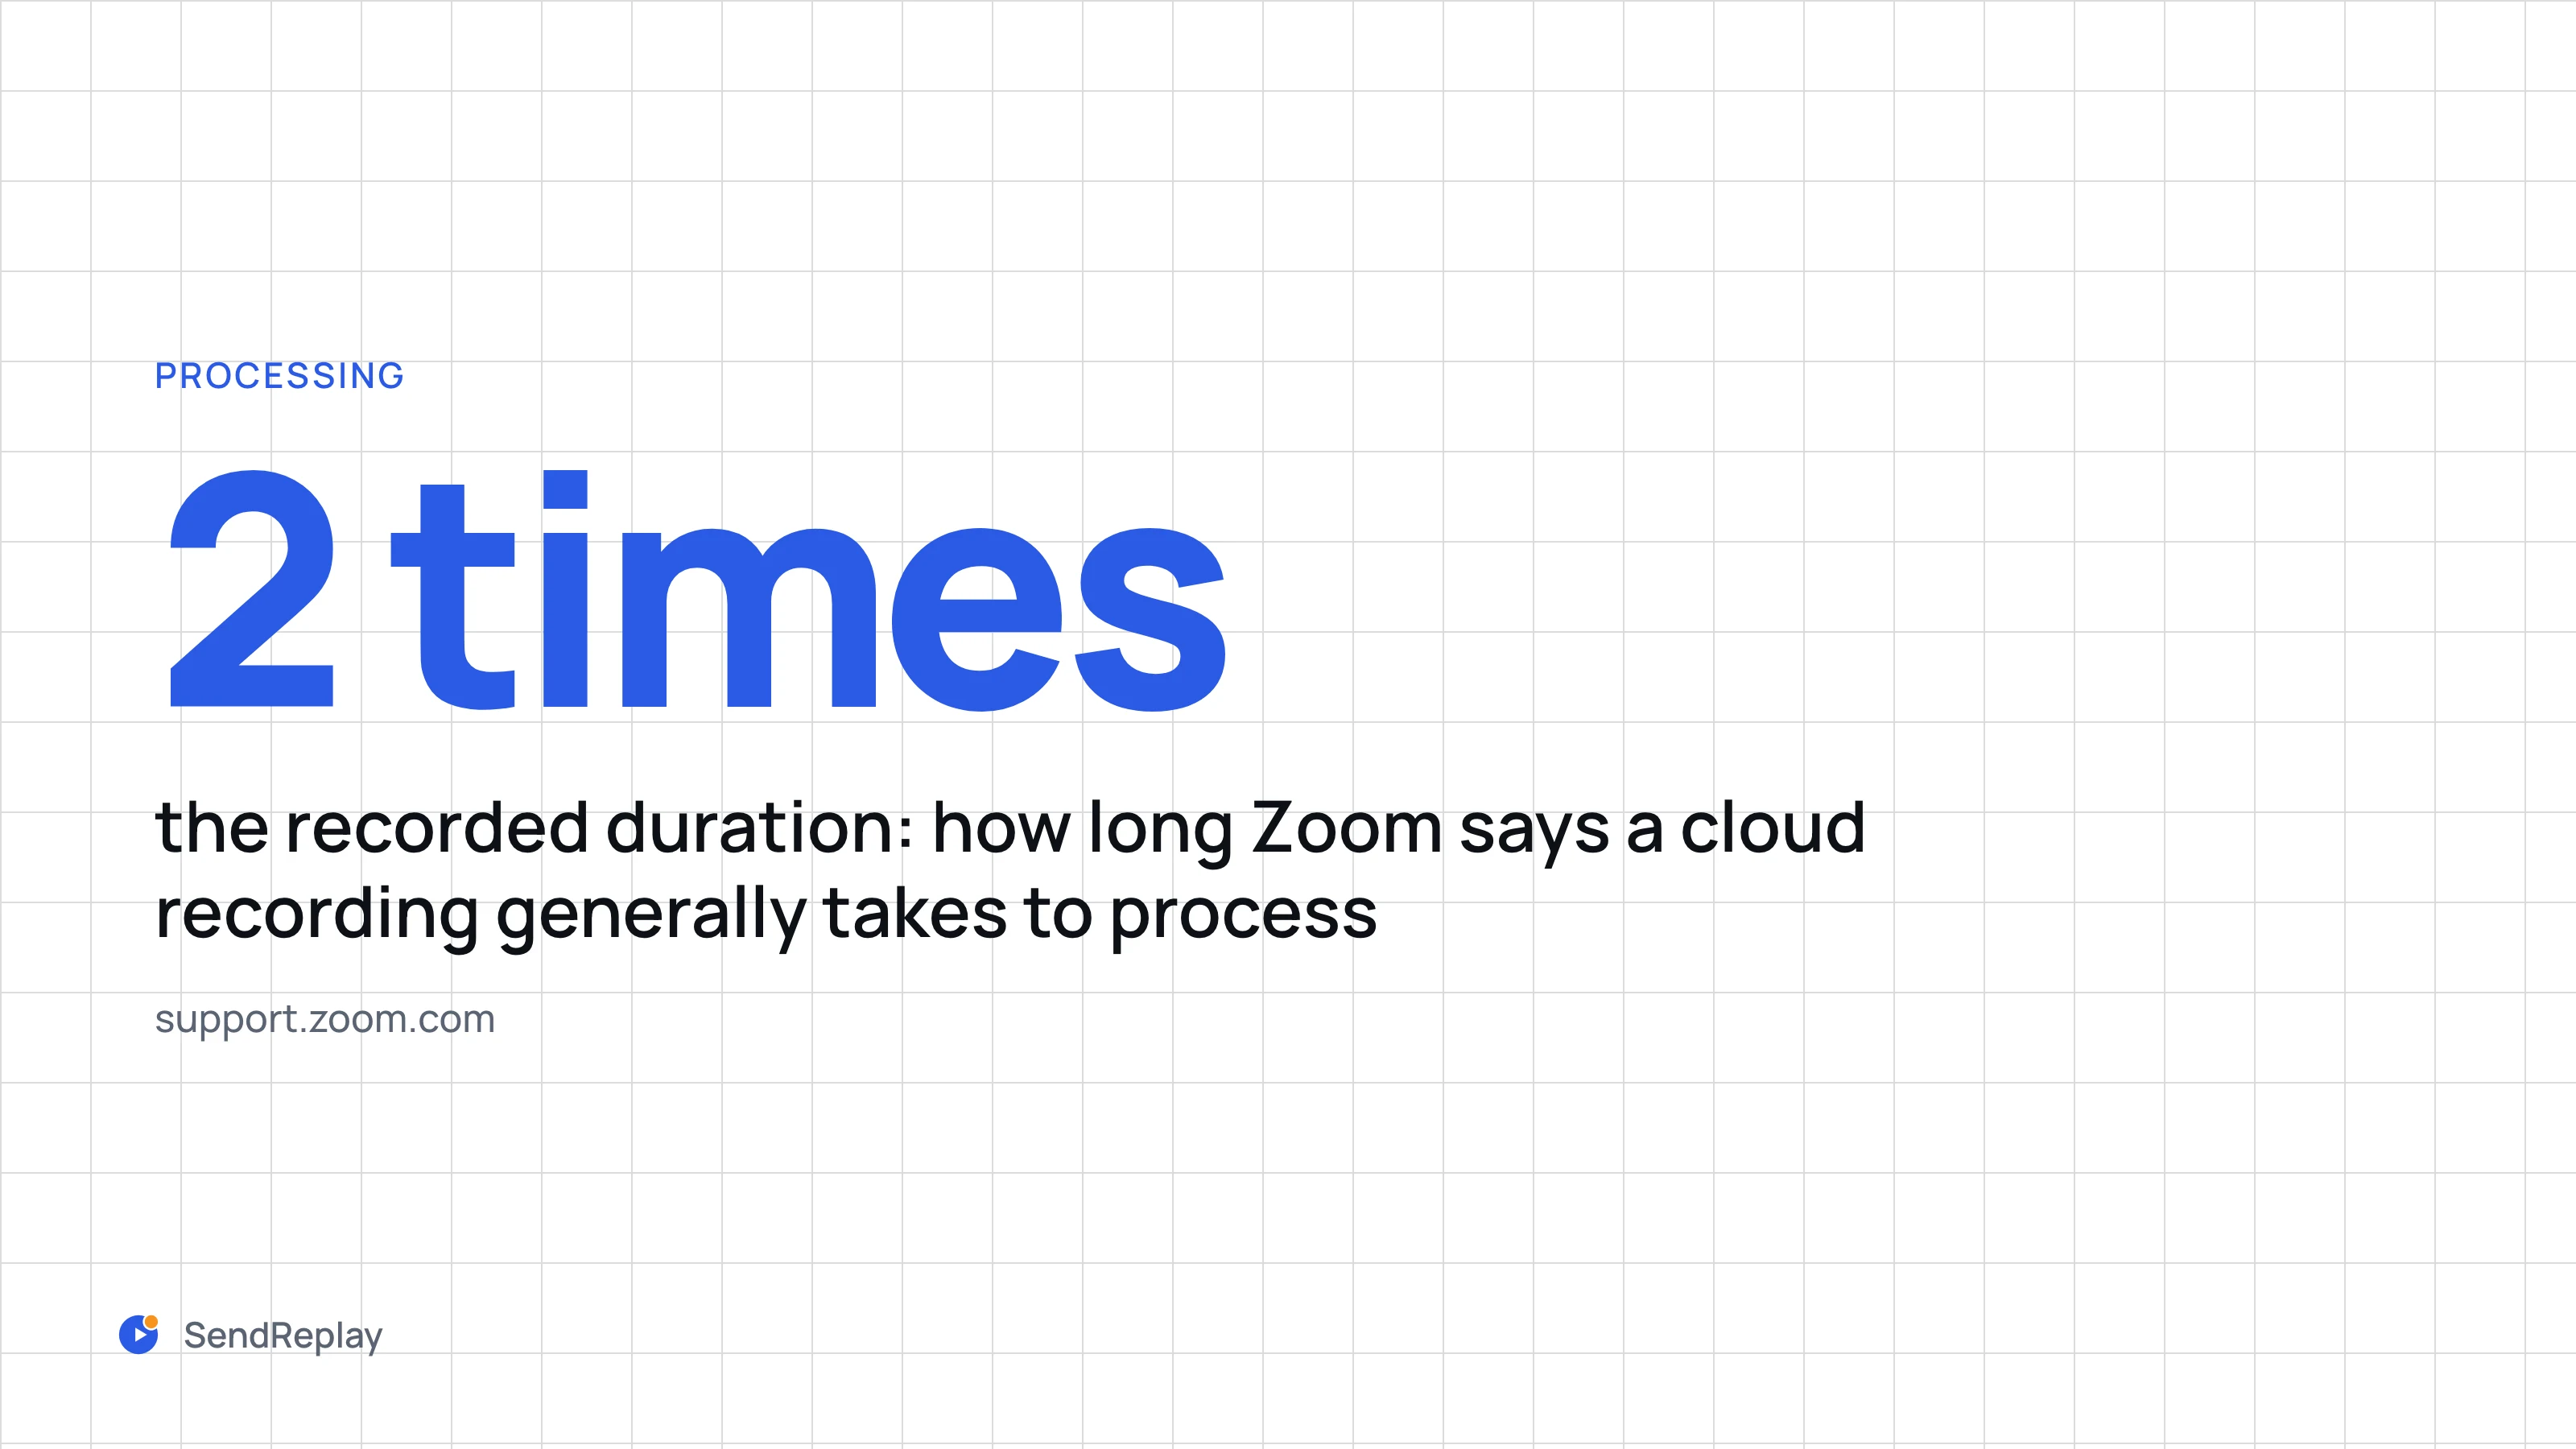
When the session ends the recording is not ready. Zoom has to process it first, and its own estimate is that cloud recordings generally take about 2 times the recorded duration, and occasionally up to 24 hours when its servers are busy. A one-hour webinar is usually watchable an hour or two after it ends. Usually is the operative word.
While that runs, the recording is already listed in the web portal under Recording & Transcripts → Cloud recordings, marked as processing. You cannot play or download it yet, and anyone who opens a share link sees a message that the recording is still processing. When it finishes, Zoom emails the host, provided that notification is switched on in the host's email notification settings, and the email carries the share options.
To keep a copy, click the recording's thumbnail on that page, click Download, and confirm. If the recording is still processing after 48 hours, Zoom sends you to a separate troubleshooting page.
What changes for a webinar
The recording itself works the same way. The buttons, the processing wait, the portal page and the Share dialog are identical, which is one of the few places the two formats do not differ; the webinar vs meeting comparison covers the rest.
Two details are worth knowing before the day. Automatic recording does not start during a webinar's practice session, so your rehearsal is not in the file. And the webinar has its own scheduling switch, Automatically record webinar, which the account default will not reach if the webinar was scheduled before you changed it.
The larger difference is what happens next. Nobody gets the link. Zoom emails the host that the recording is ready and stops there: registrants receive nothing unless the host sends it. After a meeting that is a short message to people you know. After a webinar it is a registrant list, usually split into people who attended and people who did not, and the link is only worth sending once processing has finished. The guide to sending a webinar recording to registrants walks that job step by step.
When something goes wrong
Most cloud recording problems are one of four. Zoom's missing recordings page has the longer list.
- Still processing: the title is listed but will not play. Within the first day that is normal. After 48 hours it is not.
- Not in your list: cloud recordings are only available to the host of the session. If a co-host pressed record, or you were an attendee, the recording is in the host's account and the host has to share it.
- Nobody pressed record: there is nothing to recover. Turn on automatic recording for the next one.
- Deleted: an account can be set to delete cloud recordings after a number of days. If your admin has enabled the trash, a deleted recording stays there for 30 days and can be recovered.
Storage is the slower problem. Zoom's storage capacity page gives Pro and Business accounts 10 GB per licensed user, pooled across the account, and the billing admin gets an email at 80% of the limit. A recording in progress when the limit is reached continues to the end. After that no new session can be recorded to the cloud until someone frees space or buys more, though existing recordings stay available. Download the old ones, then delete them.
The automatic version, for webinars
SendReplay handles the step after "ready" for Zoom webinars. When Zoom reports that a webinar's cloud recording has finished processing, we wait the send delay (15 minutes by default) so the attendee report can catch up, then email the recording to people who attended and a different message to people who did not, under your From name. It needs the Webinar add-on, cloud recording and registration required. Meetings are ignored today, even ones with registration; if you need meeting support, tell us. The user guide has the full sequence.
Common questions
How do I get a Zoom cloud recording?
You need to be a licensed user on a paid Zoom plan with the Cloud Recording setting on, which it is by default for paid subscribers. In the session, the host or a co-host clicks More, then Record, then Record to the cloud. After the session ends Zoom processes the file, and the host finds it in the web portal under Recording & Transcripts, on the Cloud recordings tab.
How do I download a Zoom meeting video?
If you are the host, sign in to the Zoom web portal, open Recording & Transcripts, choose the Cloud recordings tab, click the recording's thumbnail and click Download, then confirm. The recording must have finished processing first. If you are not the host, ask the host to share the recording with Viewers can download turned on; cloud recordings are only available to the host of the session.
How do I stop cloud recording on Zoom?
In the desktop app click Record, then Stop recording. Pause recording holds the same file open instead of closing it. On a phone, tap the recording indicator, then the stop icon, then Stop. Ending the meeting for all, or leaving it as the host, also stops the cloud recording. If the recording started automatically and the buttons are missing, your admin has cleared the option that lets hosts pause or stop automatic cloud recordings.
Can a free Zoom account record to the cloud?
No. Only a licensed user on a paid account can record to the cloud. A free Basic account can record to the computer from the desktop app, and that is all. If a paid account is downgraded to free, its cloud recordings are set to be deleted after 30 days unless the account resubscribes within that period.